
Tessellation: Cubes


Create First Square
Canvas Size
Click on Resize and set to pixels and uncheck the "maintain aspect ratio" box. Then set the canvas size to 1000 x 800.

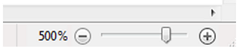
Zoom in to 500% using the slider at the bottom right of the window.
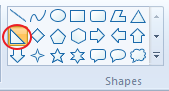
Shape tool
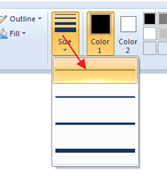
Choose the Right Triangle shape. Make the Size the thinnest one.
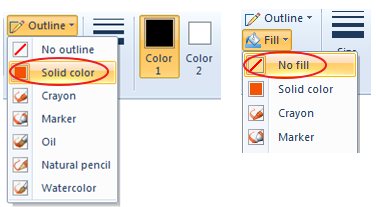
Keep the default colors. Make sure Outline is set to "Solid color", and Fill is set to "no fill".
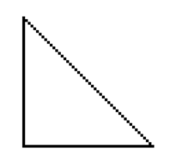
Draw a triangle
CORRECT:Hold SHIFT and click & drag out a triangle. First let go of the mouse, then let go of the SHIFT key!
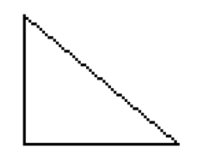
INCORRECT: If you let go of SHIFT before you're done, you'll get a crooked triangle. Delete and try again!
Don't make it too big, you'll need to fit 3 more in that space at 500%.
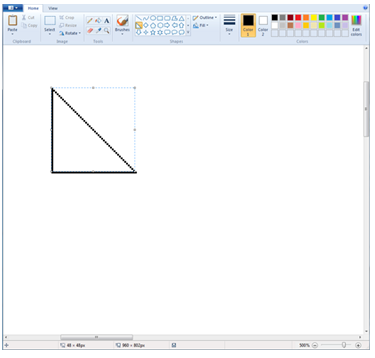
Copy & Paste the first triangle
Make sure the Select tool is set to "Transparent".

Click on the rectangle Select button and click and drag around the triangle to select it.
- Then Copy (CTRL+C).
- Paste (CTRL+V).
- Rotate>Flip vertical and move into place.
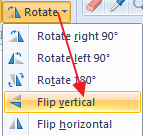
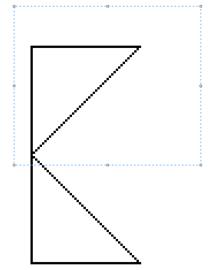
Make sure they meet with one-pixel space between!

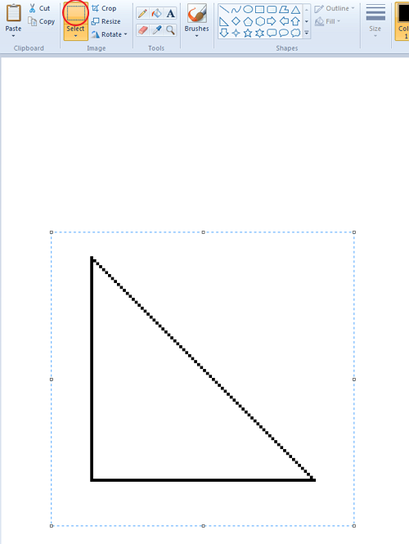
Paste more triangles
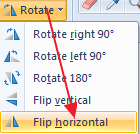
Paste again, then Rotate>Flip Horizontal, and move into place with the bottom one.
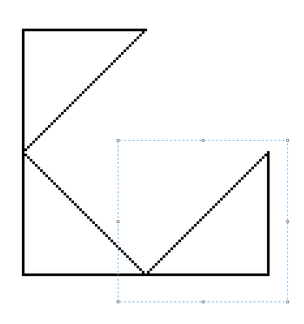
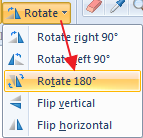
Paste one last time, then Rotate>Rotate 180 degrees, and move into place.

Colors
Option #1: Basic
Fill in the bottom-left and upper-right triangles with one color. Fill the other opposite triangles another color.
Do NOT fill any sides with black!
Option #2: Advanced
Another option is to fill one set of opposite triangles with a dark color, the other triangles with a lighter shade of that color, and the inside with the lightest shade of that color.
- Fill the first pair of triangles with a color you like.
- Then go to Edit Colors and drag the slider up a bit...

Then get a lighter shade for the inside...

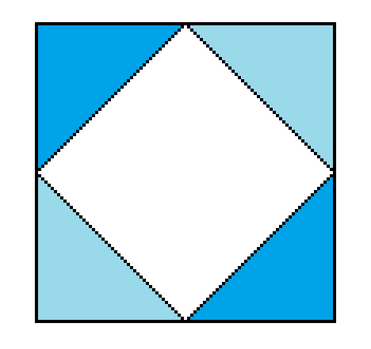
Once that's filled, you'll have something like this...

Now we need to get rid of the black lines.
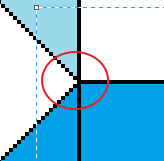
Set Color 1 to the lightest/middle color, and select the Line tool...

Drag a diagonal line (hold SHIFT as you drag so it's 45 degrees)... then adjust with the arrow tools as needed so it's overlapping the black line. Do this over all the middle lines so you have something like this...

Use the Select tool and drag from outside to the edge of the square...

Then Delete to delete the extra bits - repeat until you have a square with nothing extra out the sides...

Now use the Paint Bucket tool and click on the black edges with the other 2 colors...

Repeat on the opposite side...

Repeat for the other sides - setting color to that medium shade first...

Second Square
Stay zoomed in so you can line it up properly. You can stay at 500% if you have a bit of room around your square. If not, just zoom out once to 400%.
Select the top square, a little extra around it and move it up to the top left corner of the canvas, leaving a decent margin.

- Copy (CTRL+C) and Paste (CTRL+V).
- Move the copy over and down, lining up the same colors.

Color Option #1:
Make sure the black one-pixel border of the copy lines up and fits between the other triangles!

Color Option #2:
If you've used shades of one color, you'll have to fix your Color2 to white so that will be transparent (otherwise your square outline will "disappear" when you copy...

Then select the square and "Copy". When you paste, move it into place, lining up so the top of the new square is lined up with the 1-pixel "hole"...

If you'd zoom out to 200%, you'd have something like this...

Go back to 400% so you can see how you're lining up...
Fill down to the bottom
- Select all (CTRL+A)
- Copy (CTRL+C) and
- Paste (CTRL+V)
- Move it into place so it fits ("H").

If you're doing Color Option #2, it's quite easy to see it's lined up - and you'll still see an "H" in the middle..

Continue this pattern until you can't go down anymore, always first scrolling down so you see the empty space where the new ones should be lining up...

And then:
- CTRL+A to select everything you have,
- CTRL+C to copy everything you have,
- CTRL+V to paste
- Move into place (so forms "H").
Fill Canvas to the Right
When you've filled all the way to the bottom, scroll a bit to the right and up to the top.

Repeat the process, moving over to empty space before pasting until you've filled the entire canvas.
- Select all (CTRL+A)
- Copy (CTRL+C)
- Paste (CTRL+V)
- Move squares into position
- Scroll over to the right
If you're doing Color Option #2, you'll want to line up the "hole" with the top of the other square...


Crop
When you've filled your canvas, zoom out to 100%.


Use the Select tool to select what you want to keep...

Then click on the Crop tool.


Create first square

Fill canvas
